That’s a Wrap—A Bee’s Wax Wrap!
Have you been looking for an eco-alternative to plastic that works just as well but is much better for the environment, uses all natural products and ingredients, and has the added bonus of keeping your food fresher for longer? Look no further, as beeswax wraps do this and so much more!
Our Story
We are two Vancouver Island moms who have been BFFs since kindergarten. Our names are super alike (Kala and Kylee), our birthdays are only a few days apart, we have lived together, traveled together and raised our children together. So naturally, starting a business together felt like a great idea! We originally wanted to participate in the Hornby Island Farmers’ Market, as this is a place we spend the better parts of our summers and wanted to connect with the amazing community there. Our goal was to create a product that we believed in, and was eco-conscious and functional. We had seen and heard about beeswax wraps, but they were still relatively new on the market, and we thought, “Yes!”. Since then, we have participated in many events and markets, have had our wraps in close to 30 retail locations and have now branched into making custom branded beeswax wraps for organizations, businesses and events.
What are beeswax wraps—and why the buzz about them?
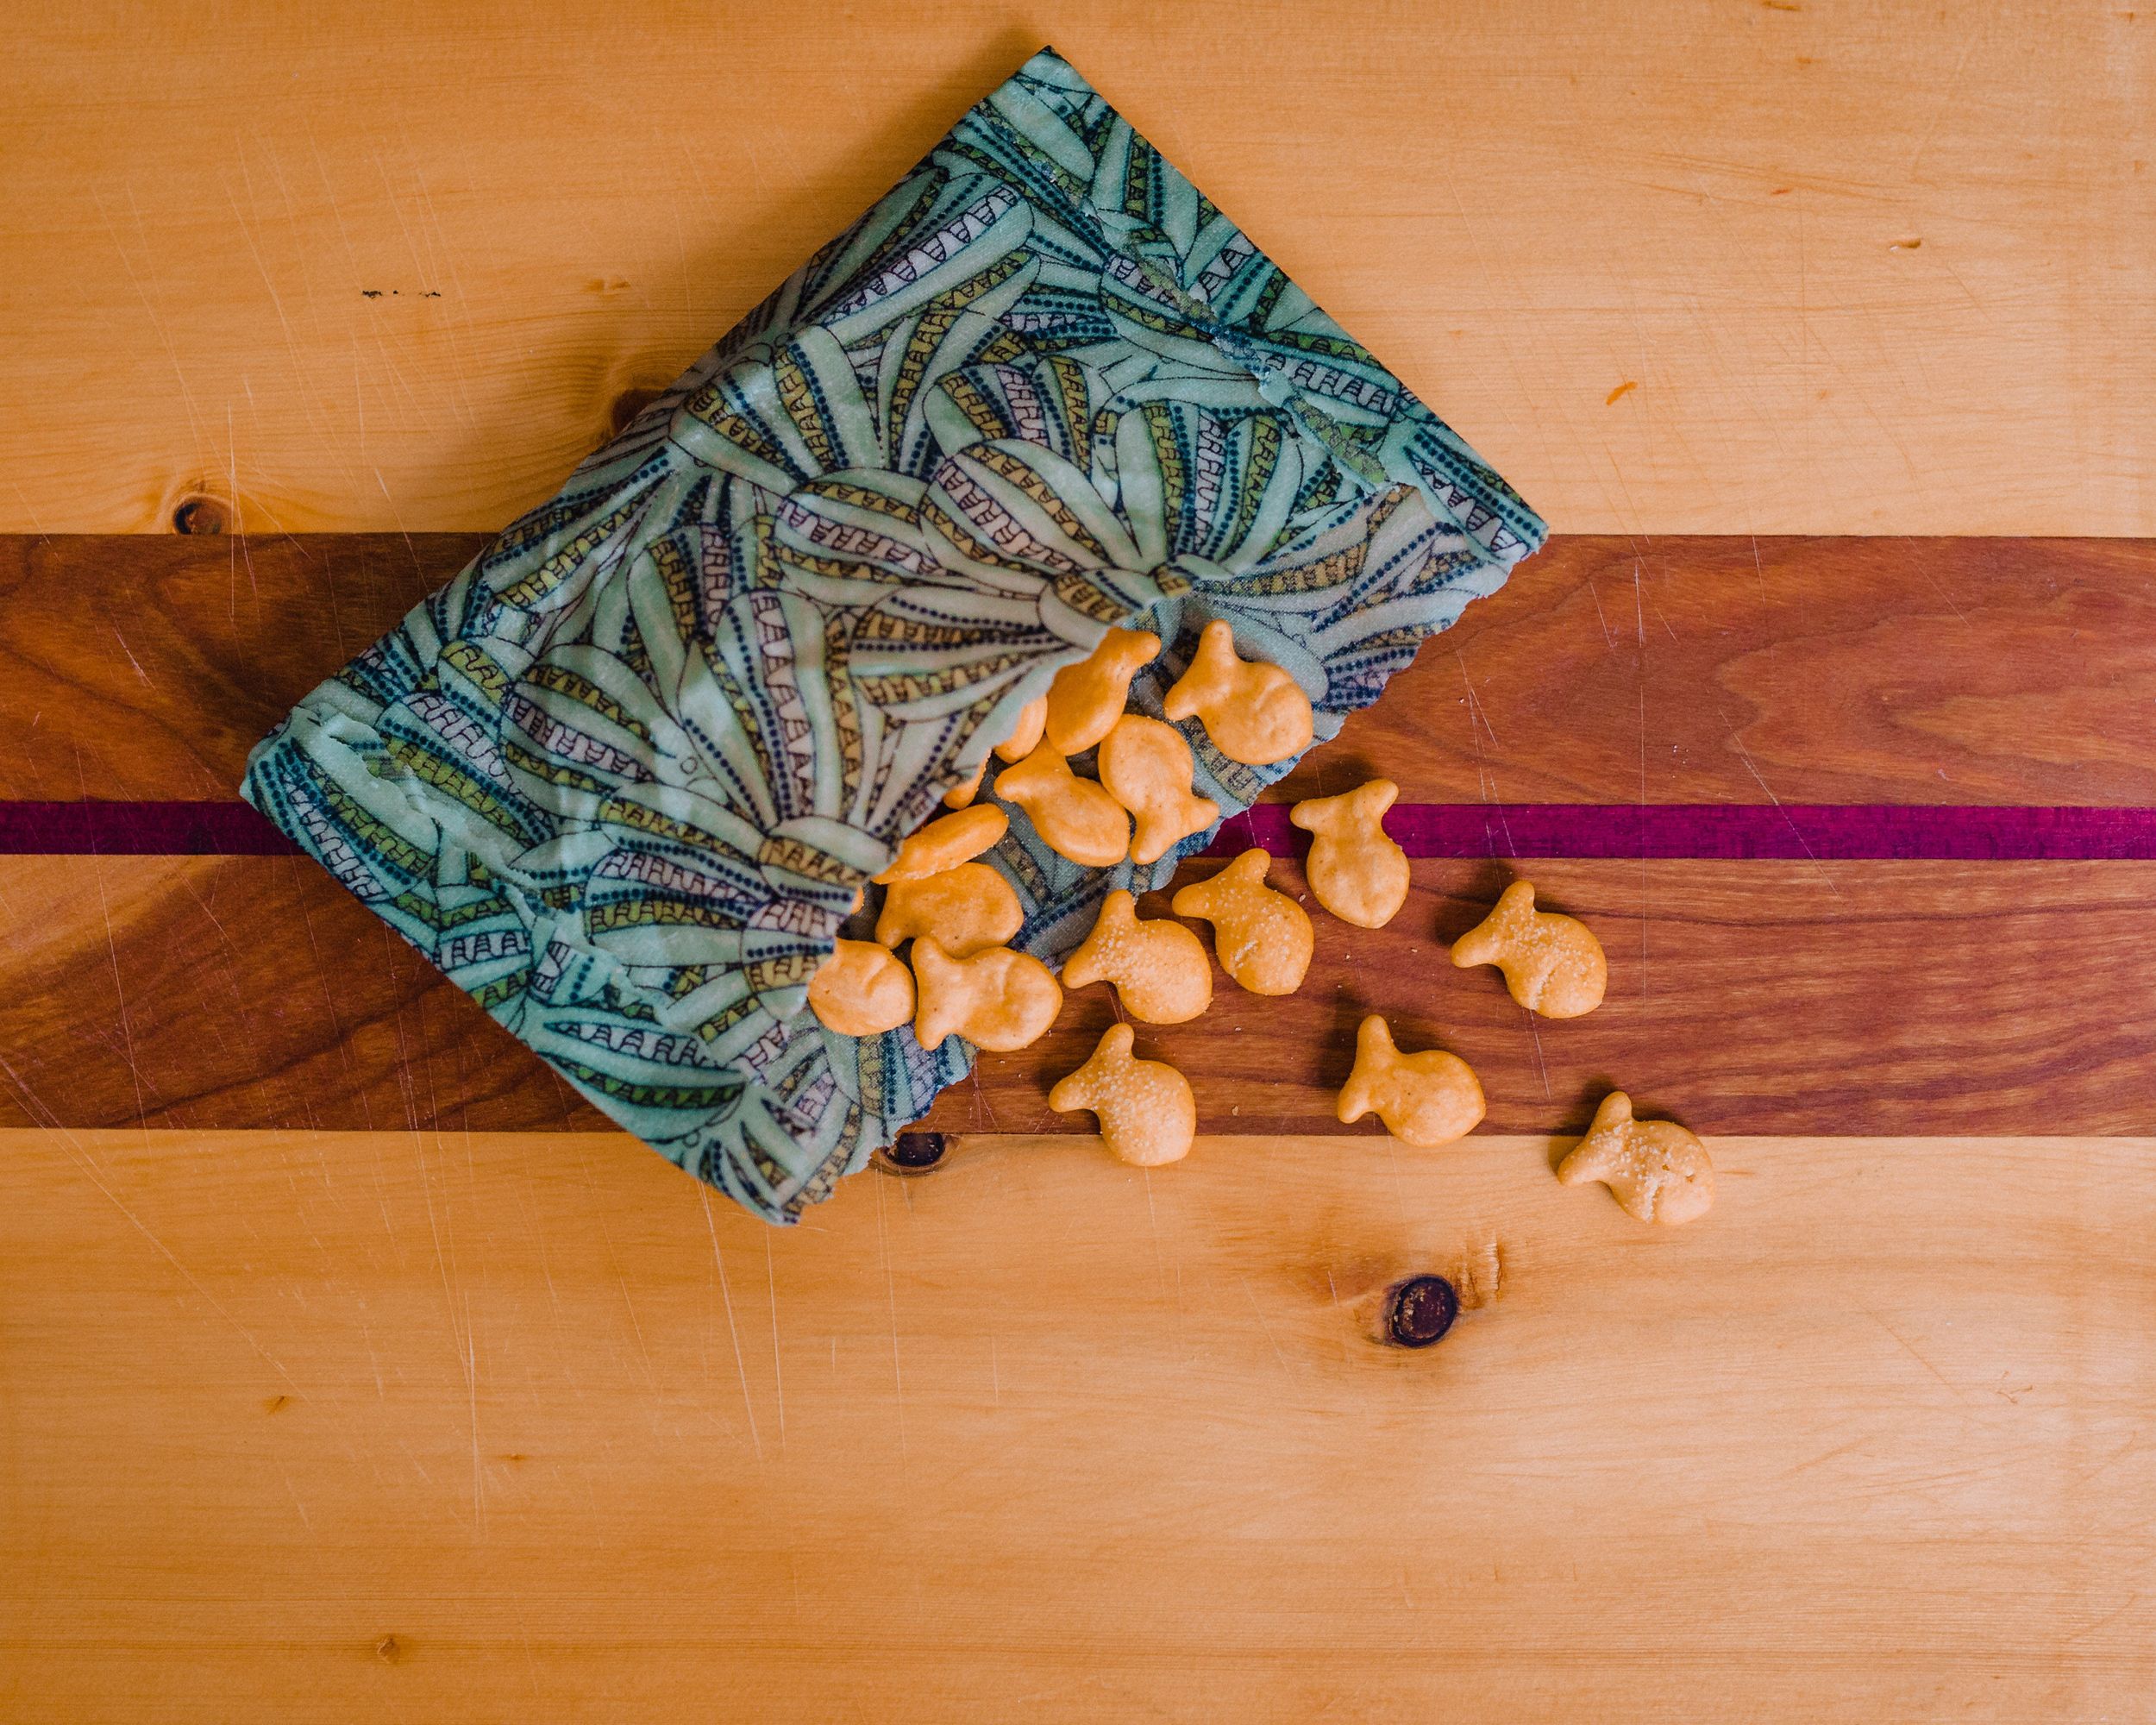
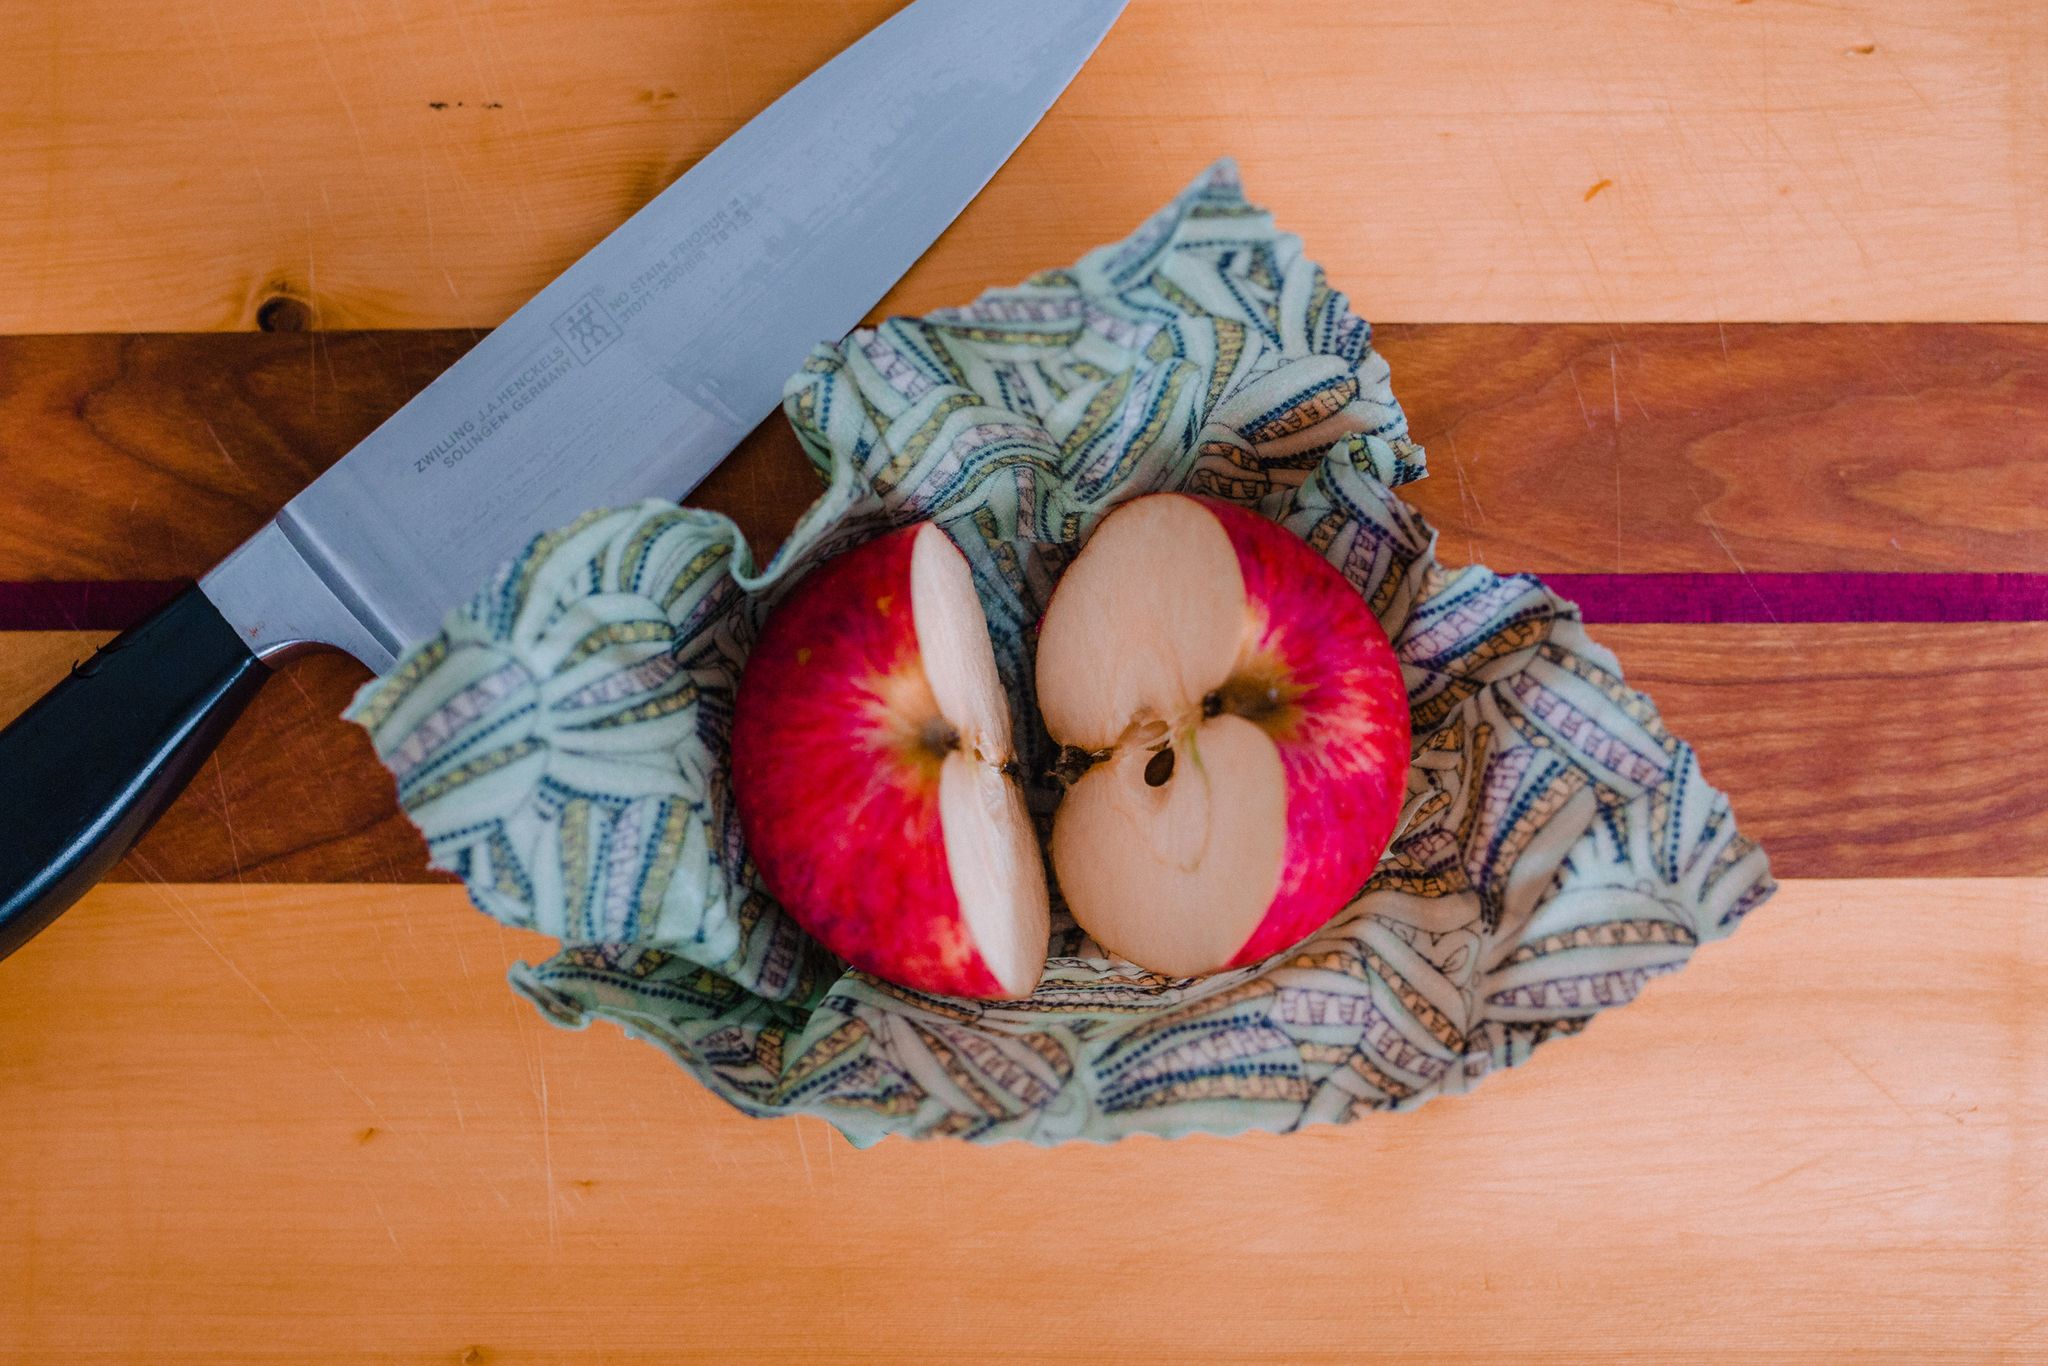
So what exactly are beeswax wraps and what makes them so incredible? Beeswax wraps are essentially an eco-friendly alternative to plastic wrap. They have a base of cotton fabric, which is permeated with beeswax and often a pine or dammar resin (this gives it the “clinginess” of a plastic wrap so it adheres better to your dishware or around food) and a carrier oil such as jojoba oil. They are used to wrap food and leftovers much like plastic wrap; however, they are reusable, washable, last a very long time (often at least a year or more), and once they are worn out, they are fully compostable. They are also adaptable to a variety of sizes of food and dishware.
If that wasn’t enough to convince you to make the switch, the beeswax acts as a natural preserving agent so that your food actually lasts longer, thus reducing food waste. All of this makes the wraps even more versatile than other food containers. And once you lose lids for those food containers? Beeswax wraps can be used to act as lids!
Making beeswax wraps: a messy but worthwhile endeavor
 Beeswax wraps can be made at home, but a warning that this can be a messy process! Word from the experienced makers is to make sure you have some dedicated space and tools that you don’t mind having wax on forever (it is bee-yond tricky to get off of surfaces!). When we started our business venture several years ago, we made them in our own kitchens and to this day, we are still finding wax in the strangest of places.
Everyone uses very different ratios of wax to resin to oil, but we definitely recommend experimenting with these ratios to find the stiffness, stickiness and end product of the wraps you prefer the most. If you choose not to use resin and only use beeswax, there is no need to melt the wax first; you can just put smaller pieces onto the fabric and it will melt and distribute when you add your heat source.
Most people making their own wraps do either the iron or oven method, but the first steps are the same in both processes. Either way, there are several steps to making the wraps. First, you must choose your fabric (we use 100% cotton but you can use different types of materials such as linen—it just needs to be a natural fibre and not artificial, like a polyester). Wash your fabric, iron it, and then cut into the size wrap you would like. For our products, we do squares of all sizes, as we find them the most versatile, but you could experiment with different shapes like circles, ovals, rectangles etc.
For both processes, if you are using a resin (pine or dammar), we recommend combining and melting it with the wax and oil before adding it to the fabric, as the resin is very thick and you will end up with clumps of unmixed resin on your wraps otherwise. You can melt it in a double boiler or slow cooker, just be sure you don’t mind never using these for anything other than beeswax wraps again, as the wax will not come off!
From here, if you are using your oven, preheat it to a very low temperature (around 200°F). Lay parchment down on a baking tray (very important!) and then lay out your fabric on the tray. Next, either sprinkle the wax or pour your resin/wax mixture over the fabric—a little goes a long way. Put your tray into the oven and allow the wax to fully melt and absorb into the fabric, likely less than five minutes. Then remove the pan from the oven and, using an old credit card or piece of cardboard, scrape any excess wax off of the fabric and then hang it to dry. This can be done using a laundry drying rack covered in parchment or by hanging a line of some type and hanging them with clothespins. Just be sure to cover your floor as well since there is likely to be wax dripping. Once dry (which only takes a minute or so) you have your wrap!
For the iron method, once your fabric is laid out on the trays and your wax mixture or hard pieces are dispersed on the fabric, cover the layer of fabric with a second layer of parchment to protect your iron. Use your iron on a very low temperature to spread/melt the wax. Once the wax has absorbed, scrape and hang the wraps as in the oven method. Repeat as many times as you would like to make many wraps, as one is never enough! And that’s a wrap—a beeswax wrap, of course!
How to keep your wraps fresh and bee-autiful
Beeswax wraps are super easy to care for. You can wash them under your tap in lukewarm to cold water with a bit of soap if needed (alcohol-free is easiest on them). Rinse them off and let them dry by hanging or putting on a dish drying rack. Never use hot water, your dishwasher, or your clothes washer to clean your wraps. It is always a good reminder that the wraps should not be used in the microwave, in the oven, or to wrap raw meats (cooked or cured meats are just fine). Bee-lieve it or not, people forget these tips and can end up in some sticky situations, to say the least!
|
If DIY isn’t your thing… Making wraps yourself can be fun, but if all these steps and processes are too much of an undertaking for you, there are many great beeswax wrap makers who always appreciate your support. They work hard to make high-quality wraps that do not require you to spend time scraping your floors or supplies of wax afterwards. If you have heard about beeswax wraps and have been hesitant to use them, try making them or supporting a local business by purchasing from them. You won’t look back once you do—they really are the bees knees! |


