The Winter Gardener
After a few months' break from my garden, by January, I’m antsy to get back to it. Perusing my seed catalogues and planning the coming year’s garden is one of my favourite things to do. Each year feels like a fresh start. I look forward to pruning, redesigning, removing, adding and trying new things in my garden—as well as planting seeds.
If you’re an avid gardener, you probably get it. If not, you’re probably wondering, why so soon? Well, starting seeds yourself can save you money, and you can grow unique or unusual seed varieties that you may not be able to find as plant starters in spring. Seeds that benefit from winter sowing have longer germination periods and need longer to grow before producing.
Some seeds will need the warmth of indoors and the brightness of a light. Others can be sown directly outside in the ground, in a cold frame or in their own, homemade mini greenhouses. The latter is called the winter sowing method and is the easiest and most foolproof way of planting in the winter.
Winter-sown seeds grow into strong seedlings that don’t tend to damp off. They don’t need to be potted up as they grow and are already hardened off when you’re ready to put them directly in the ground. With natural daylight, your seedlings won’t get leggy, and there’s no need to worry about an arbitrary last frost date. Sowing outside also means you’re not taking up precious indoor space.
Starting seeds this early isn’t for everyone, but if you love to garden and have an outdoor space, it’s a great project to get you outside and scratch that gardening itch.
Seeds to start indoors
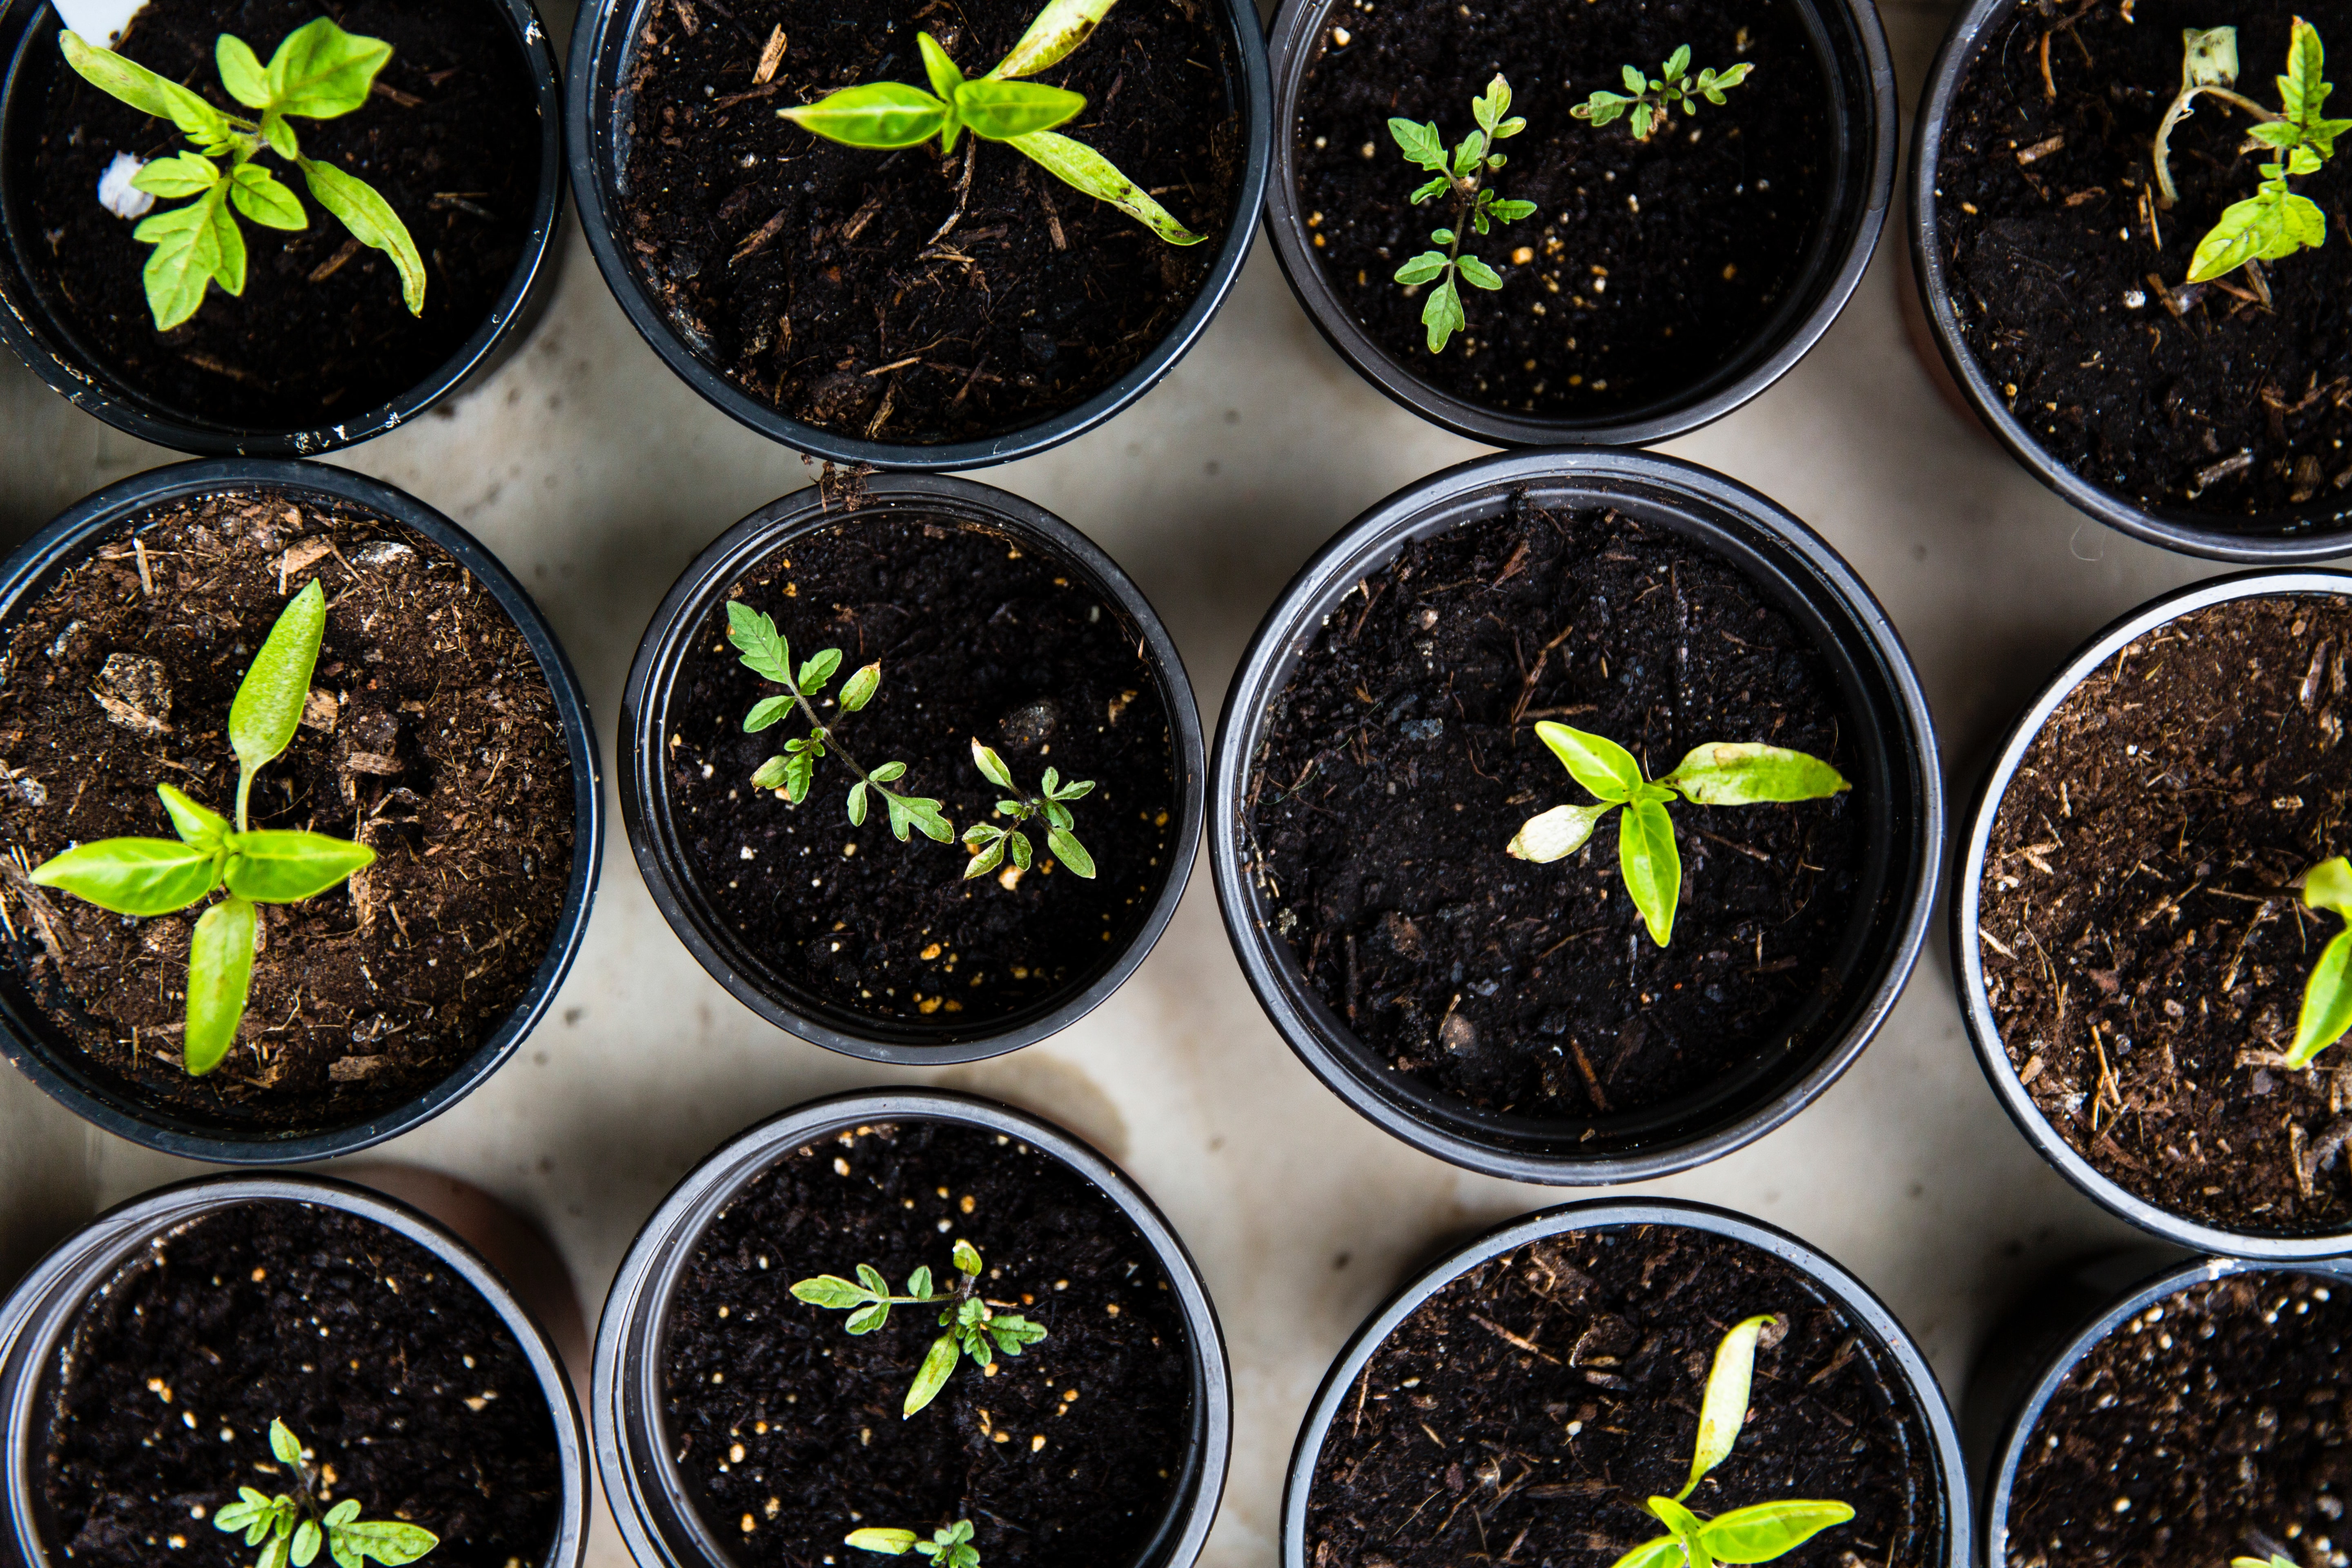
Artichokes and onions benefit from a January start, while asparagus and leeks can be started in February. Broccoli, cabbage, celery, peppers and tomatoes are ready to go in the flats by March. These are all seeds that need warmth to sprout and have a long germination period. Fill flats with moist, sterilized seed starter mix, then plant seeds to the depth suggested on their packets and place in a warm, draft-free place and cover with a clear dome or lid.
Once the seeds poke their heads up, they will need lots of light. Place a grow light over the trays (as close as possible) to keep seedlings compact and brightly lit. Seedlings need 14–16 hours of light per day and a dark rest period at night. Without adequate light, they will become leggy.
As these indoor seedlings grow, they’ll need to be potted up into larger containers, and when temperatures allow, they can be moved into a greenhouse to allow full sunlight for the larger plants.
Seeds to start outdoors
Radishes, spinach, mustard greens, arugula and kale are all game for a February start in your cold frame. Peas and broad beans (aka fava beans), mustard greens and parsley can be directly sown in the ground in February and March.
Like the following winter sowing method, these will take a while to sprout, but nature is amazing and these tiny seeds know just what to do and when to do it. Plant these seeds as per their package instructions.
The outdoor winter sowing method
Winter sowing requires planting when freezing temperatures (or your area’s coldest temperatures) arrive to stay until the spring warm up. Good candidates for the winter sowing method include onions, leeks, scallions, kale, hardy salad greens, broccoli, cauliflower, cabbage and perennial herbs. Seeds that say they can be direct sown outside in fall or early spring are good bets too. Workaday vegetables like alliums, cruciferous vegetables and hearty greens are culinary staples throughout the year. Some may take longer to grow but they keep better than more delicate vegetables and are so versatile in the kitchen.
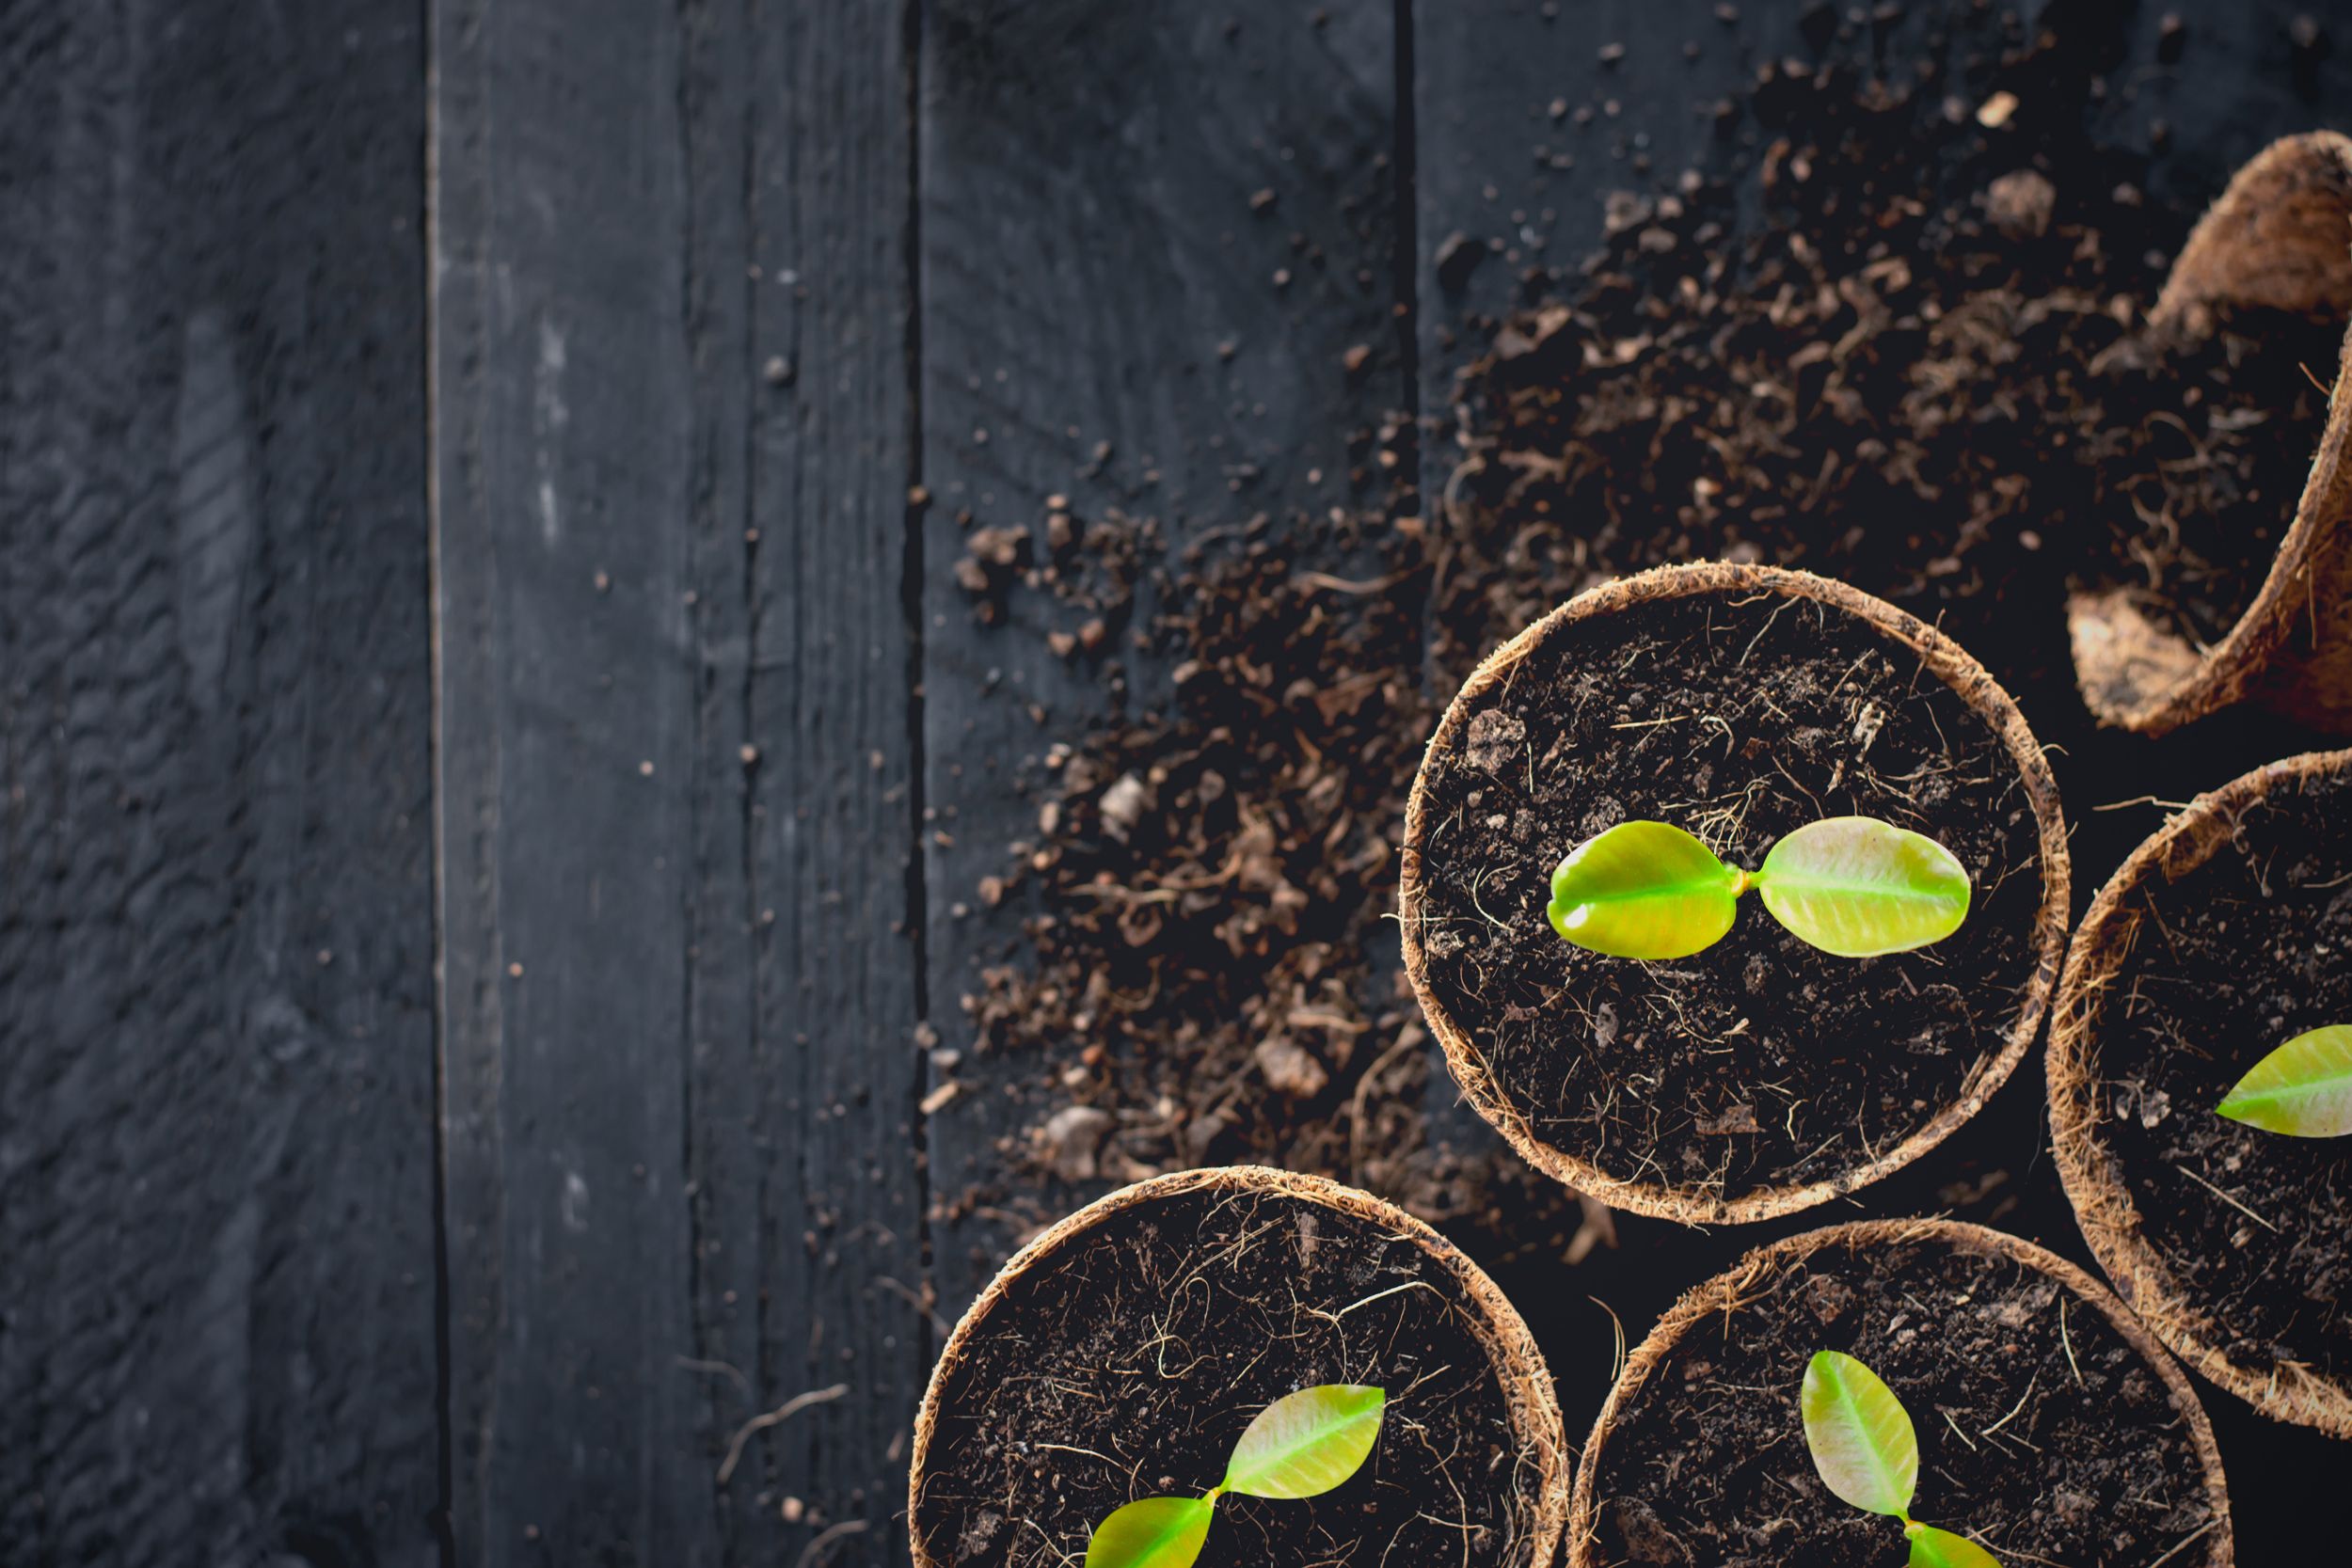
Collect plastic containers like milk jugs, ice cream buckets, two-liter plastic pop bottles or any other tall, clear, plastic containers. Rescue them from your recycling bin and offer to take them off the hands of family and friends. These should be large enough to hold at least three to four inches of soil with four to six inches of headspace for the seedlings to grow.
Clean your containers, and if they don’t open fully across, cut them horizontally ¾ of the way through the middle, leaving a small “hinge” attached so you can open them to fill and plant, then reclose them. Poke some holes in the top for ventilation and some in the bottom for drainage. A drill or hammer and nail will work for this.
Fill them halfway or three to four inches deep with sterilized potting soil, and plant seeds to the depth stated on the packets. You can plant many and thin them later or space them apart as per package guidelines.
Label your containers with a marker or tape that won’t fade in the sun or with plant markers in the container. Water well until the soil is evenly moist. Let the containers drain and replace lids or tops, securing with duct tape if required.
Finally, place them outside in a spot that will get rain and sun but be protected from harsh winds. Your mini greenhouses can stay here until the weather starts to warm or the seedlings outgrow their containers. If days are getting hot, vent lids and water to prevent overheating.
As the days lengthen and get warmer, you’ll start to see your seedlings sprout. Let them grow in their tiny home until they are almost touching the tops of their containers. Then remove the lids, keep watering and let them keep growing. If freezing temperatures return, cover your seedlings with a sheet or cloche of some sort overnight.
Once they have at least one pair of true leaves and the soil is workable, they can be planted directly into the ground. Because they were germinated outside, they are already hardened off and ready to go.